Applying room textures
To make a plain room look more exciting, we can add room textures for floors and walls.
We do this by specifying the wallTexture and floorTexture of the room.
Important note
Both wallTexture and roomTexture expect a loaded texture to work properly.
Another way is to supply a Promise (i.e. by using loadRoomTexture),
which resolves after the texture is loaded. If the texture is not loaded before, the room will fail to render properly.
Texture Format
The texture you provide should have a normal two dimensional look. You don't need to skew it to make it look isometric, since shroom will take care of that automatically.
The default tile texture commonly used looks like the following.

Be creative and create your unique wall and floor textures. I'm sure your users will enjoy it!
Adding colors
While we are at it, let's add some colors to the room.
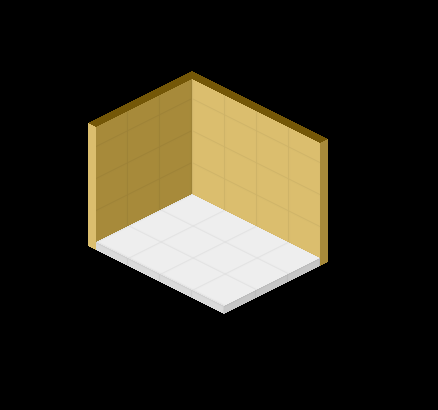
Result
Your room will now look like this, depending on the textures and colors you provided. In this example, we used the tile picture above both for floor and the wall.
